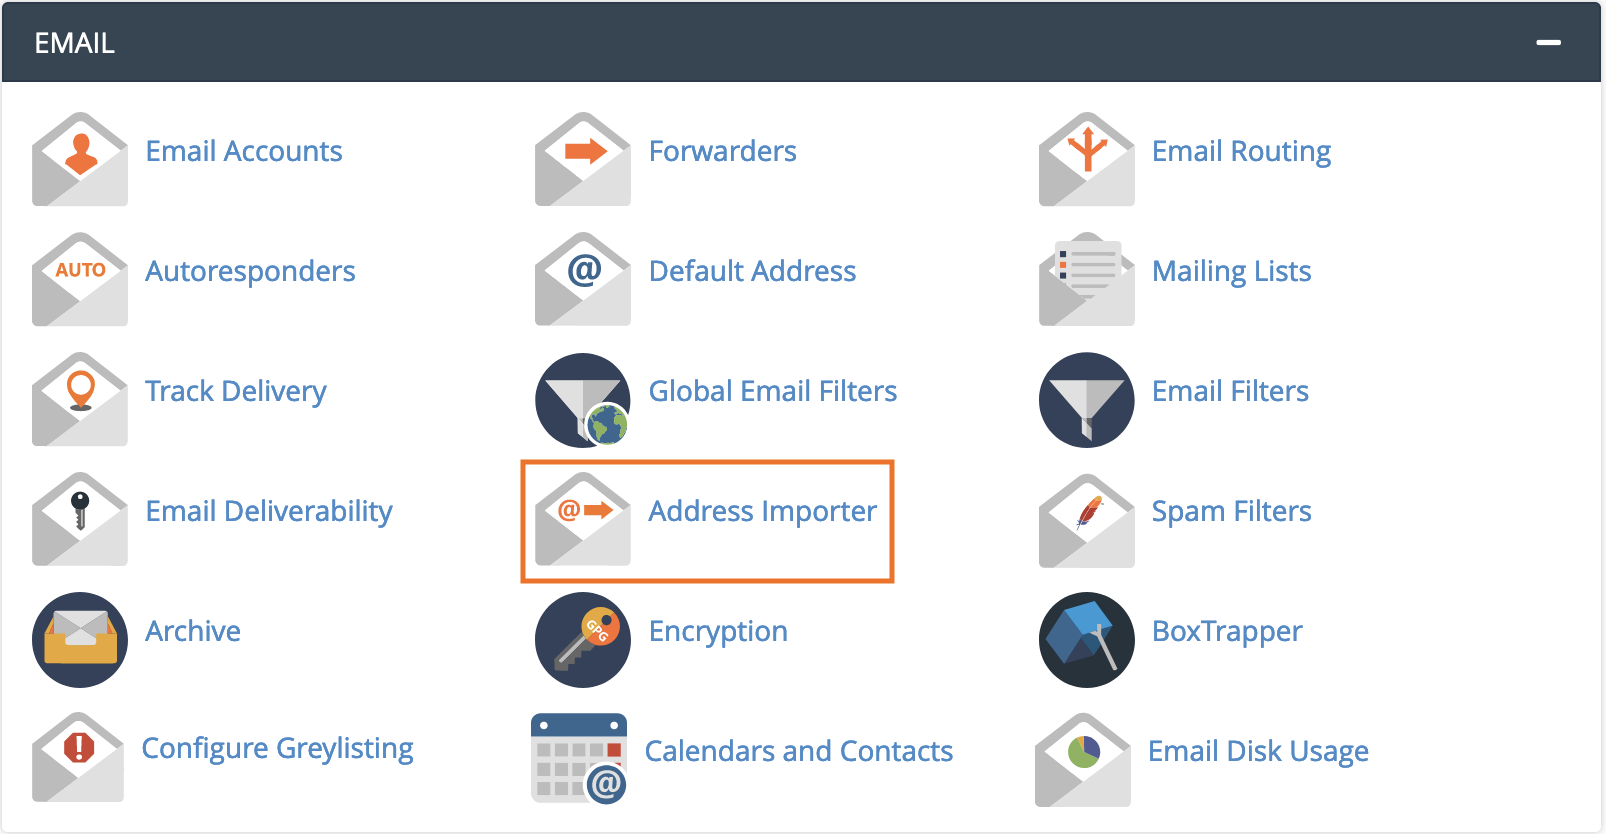
This is a how to tutorial that shows you how to use the cPanel Address Importer tool. You can use this tool to easily move your emails from one server into our servers without having to type out and create each email.
(cPanel >> Home >> Email >> Address Importer)
Overview
This interface allows you to use two types of files to create multiple email addresses or forwarders for your account simultaneously. You may use Microsoft® Excel® spreadsheet files (.xls) or comma-separated values sheet (CSV) files (.csv) to import data.
Create the import file
To create the import file, add a series of email addresses and passwords to your spreadsheet or plain text file. For each account forwarder, use a separate row in the spreadsheet or a new line in the plain text file to separate the information for each account or forwarder.
Import the following information for each address or forwarder:
- Usernames (for example,
user1oruser@example.com).Note: The interface does not require the domain portion of the address (for example,
@example.com). - Passwords (to import email addresses).
- Quotas (for example,
10indicates 10 Megabytes).
A .csv file is a plain text file with the .csv extension. When you use a .csv file, separate your email addresses and passwords consistently. Use commas (,), periods (.), or any other character (delimiter), to separate the information that you wish to import for each account.
Your .csv file will resemble the following example:
|
1
2
3
|
user1@example.com, Password, 10user2@example.com, Password, 10user3@example.com, Password, 10
|
Import the file
Import the file to create the accounts. cPanel uses the information in the file to create all of the accounts automatically.
To import the file, perform the following steps:
- In Step 1, select E-mail Accounts or Forwarders.
- In Step 2, click Choose File to select the file to import.
- In Step 3, select the character that you used as the delimiter. If you used a delimiter that does not appear in the list, select Other and enter that character in the Other text box.
- Select Treat first row as column headers if you placed column headers in the first row of the file.
- Click Next.
- Use the menus above each column of values to assign the properties of each delimited value.
- For example, if you chose to use a comma as the delimiter, and input the line
account,password,domain, use the menus above each value to assignaccountto Email,passwordto Password, anddomainto Domain. - Select Ignore for columns that contain unnecessary data.
- For example, if you chose to use a comma as the delimiter, and input the line
- From the Domain menu at the bottom of the interface, select the domain to use for these accounts.
- Click Next.
- Click Finish.
Click Import More to return to the first screen of this interface and import additional addresses.